DIY
Here's a page about DIY and interior design that i've implemented around my house, I like the idea of taking something and turning it into something else. I think its great to utilise furniture or materials from around the home, and creating something useful. There's also a section for Handy Ideas for around the home.
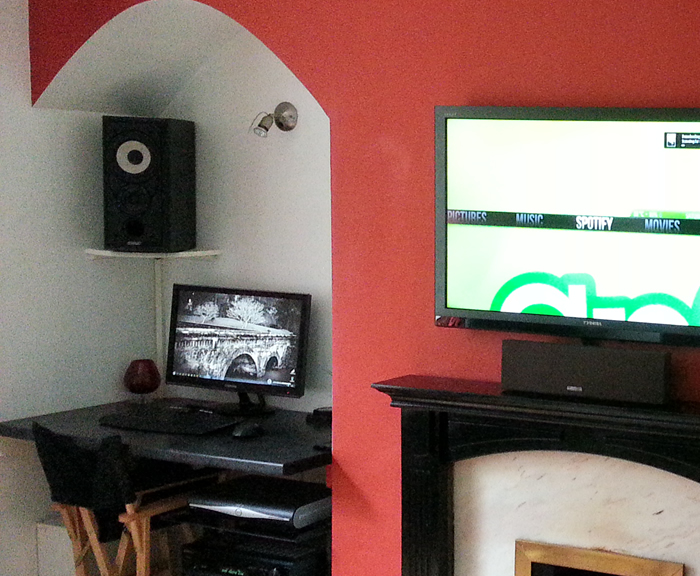
Housed Sonos in cabinet and room switch around
I managed to house the Sonos bar inside the teak cabinet, I had to shift a few thngs around inside, drill some holes for wires etc
This is a much cleaner and homely look, previously i'd always wall mounted TV's but I think that doesn't look as well.
Solid Reclaimed Oak Shelf
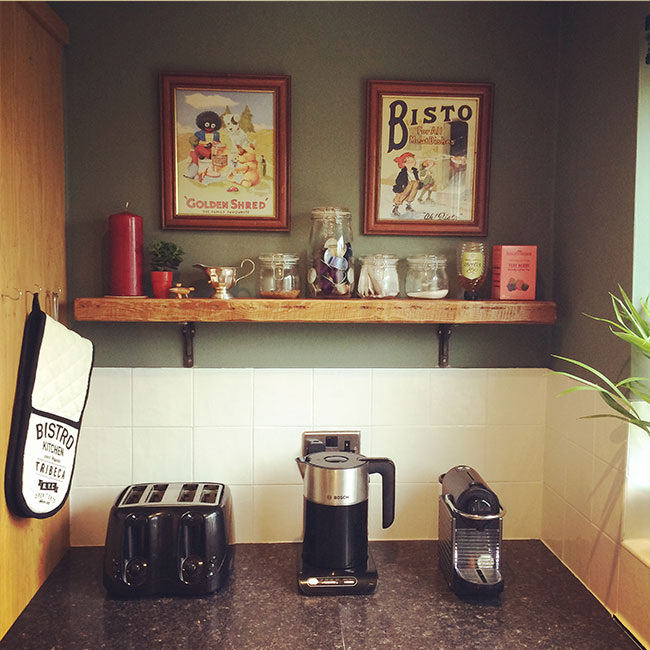
I found an old oak mantel piece on a car boot sale, had it stored in the garage for a while until I foud use for it.
I wanted a shelf above the kettle for all the tea, coffee, sugar jars. Bought some solid iron Gallows brackets off eBay, sanded down the oak beam, and used brass screws.
The results look great, I get a lot of compliments about the shelf.
I also drilled holes in the worktop, removed the plugs from the appliances, sent the wires through the counter, re wired the plugs, then plugged them into a 4 way house under the worktop. This means the area is free from loads of wires trailing up the wall.
Ladderax Shelving Unit
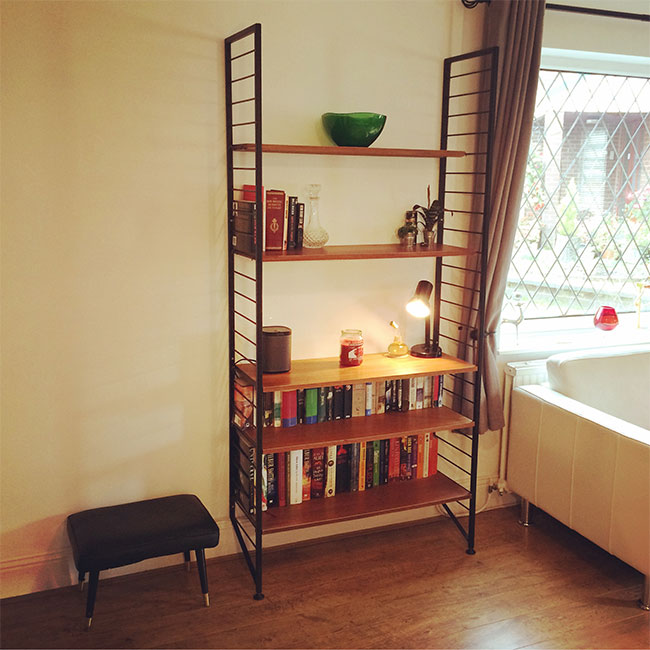
Picked up this fantastic original Ladderax display unit, it's originally from Staples in London, nice piece of vintage modern furniture. The shelves are adjustable, and the unit screws to the wall, so it's extrememly solid.
I added a 4 way extension cable under the first shelf, to house a lamp and a Sonos play 1
Gum tree £15! the old lady said it was old and kept falling over (she hadn't screwed it to wall). Saved it from going to the tip.
Wall mounted TV / Sonos and a Danish inspired sideboard
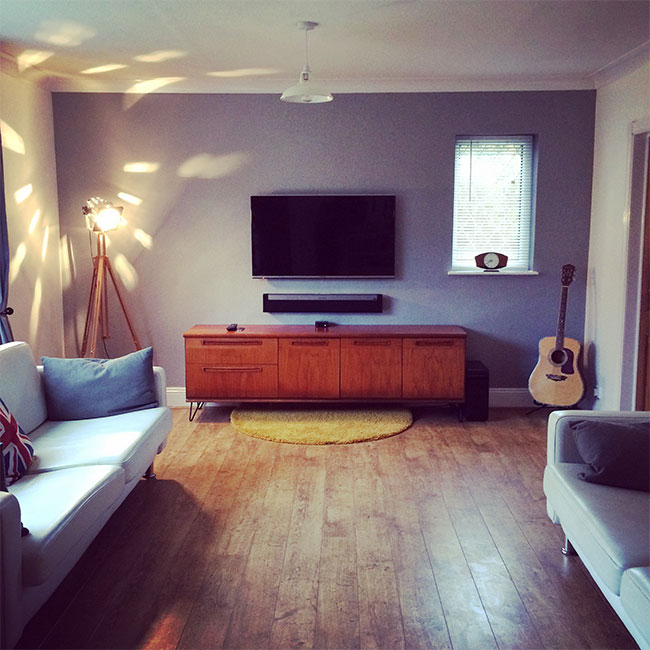
I hate wires, so after removing an old fireplace, I took a chisel to the walls and embedded all my wires in the wall, I mounted my TV and Sonos to the wall. After tweeting this photo, I had a response from Sonos telling me it looked great!
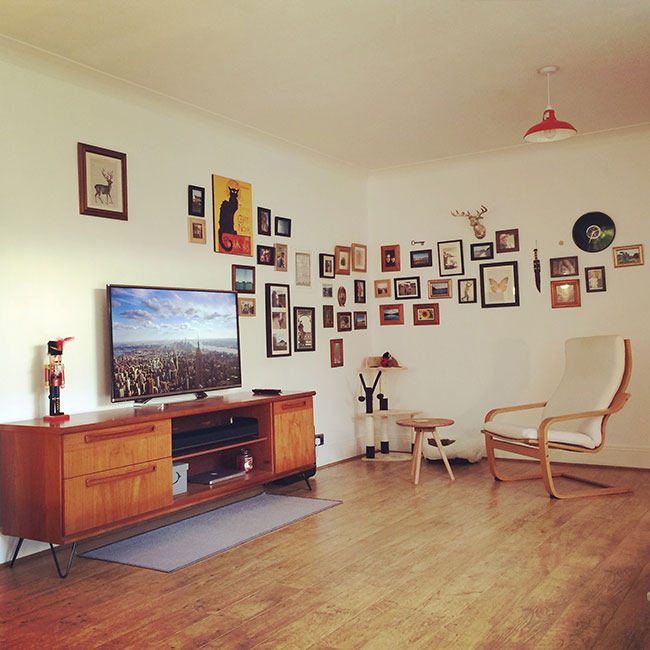
Random Photo Frames - Interior Design
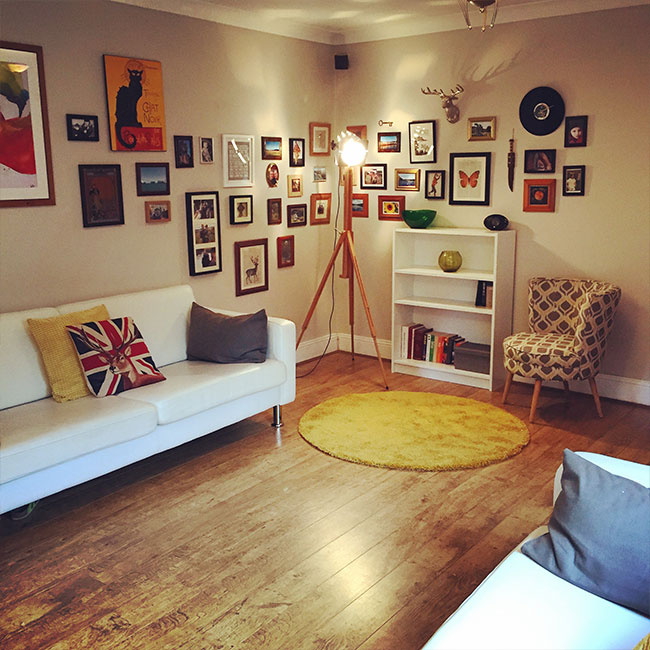
It's quite easy to achieve this look with photo frames on your wall, but I've seen many examples of where it can go wrong. You can pick up frames from anywhere really, but here are my tips:
- » Keep the distance between frames to a minimum
- » Try and randomise frame styles, gold next to a black and round next to square etc
- » Don't just put photo's on the wall, signs and artwork can make a nice contrast
- » Contrasting sizes really works
- » Keep some linear lines
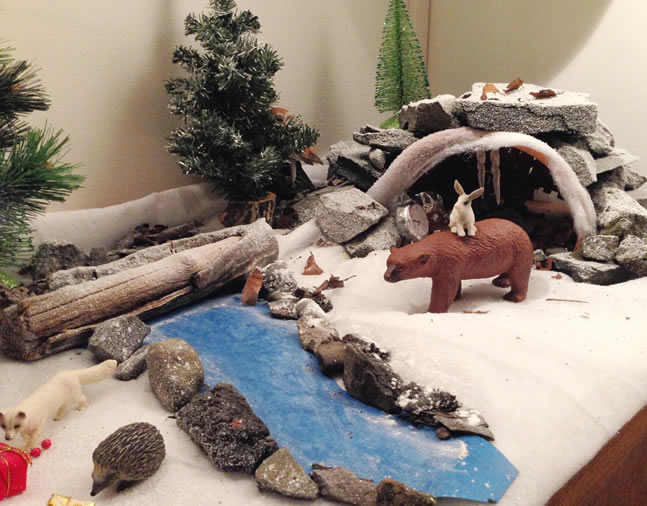
DIY John Lewis - The Bear and the Hare - Xmas Display
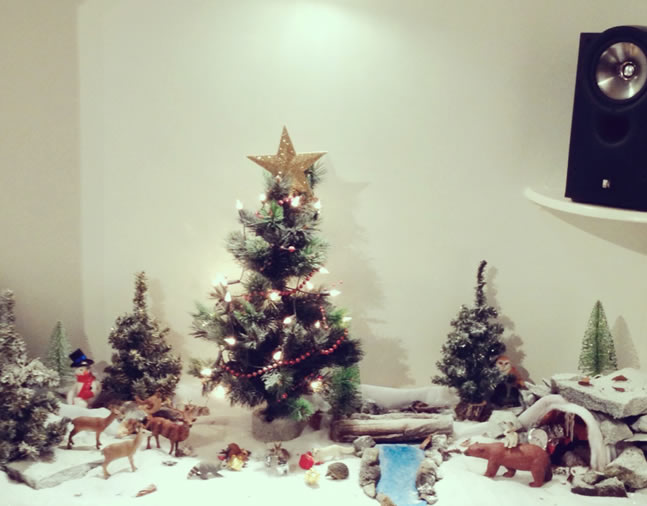
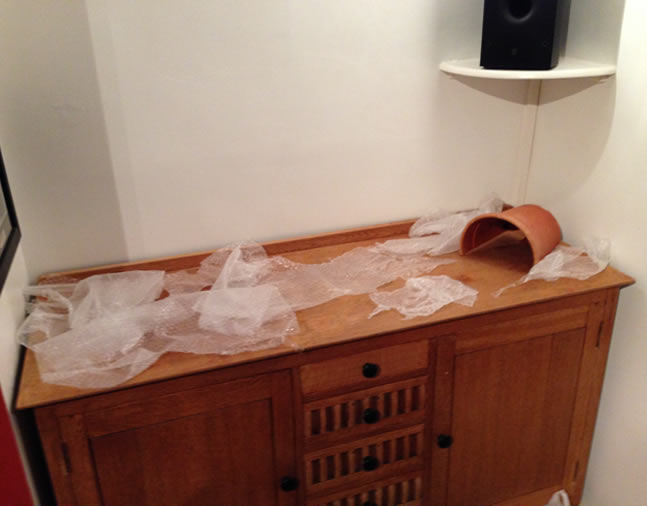
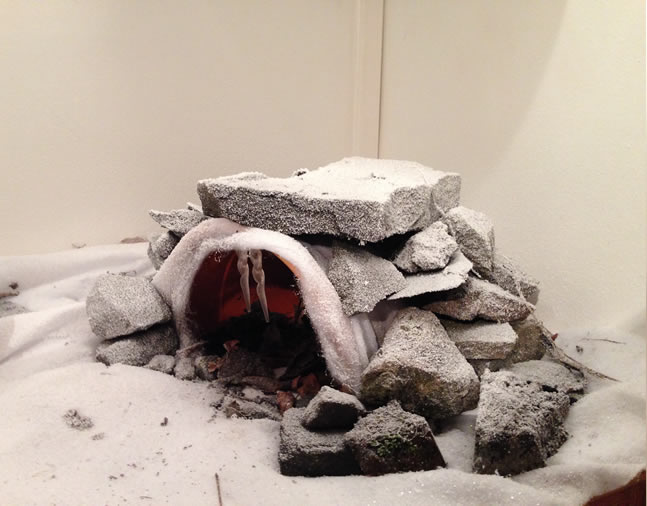
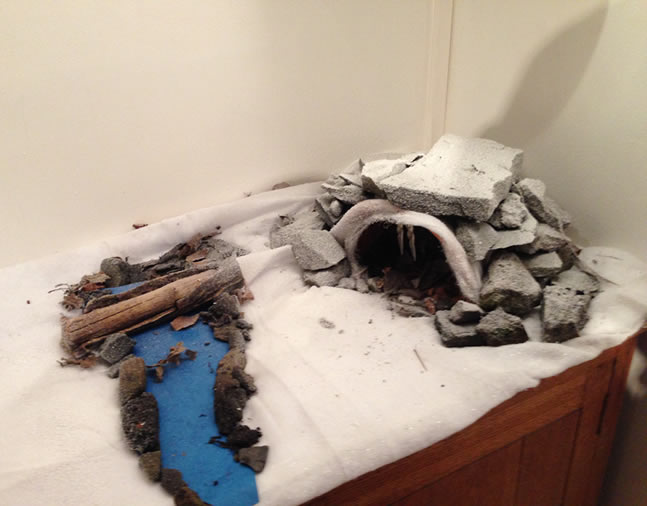
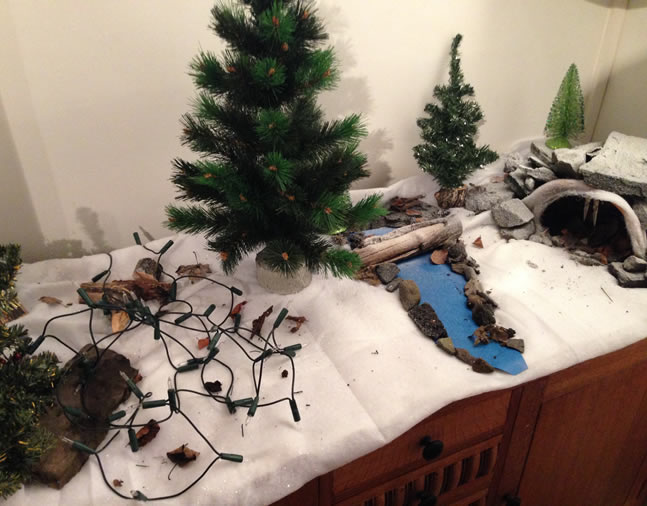
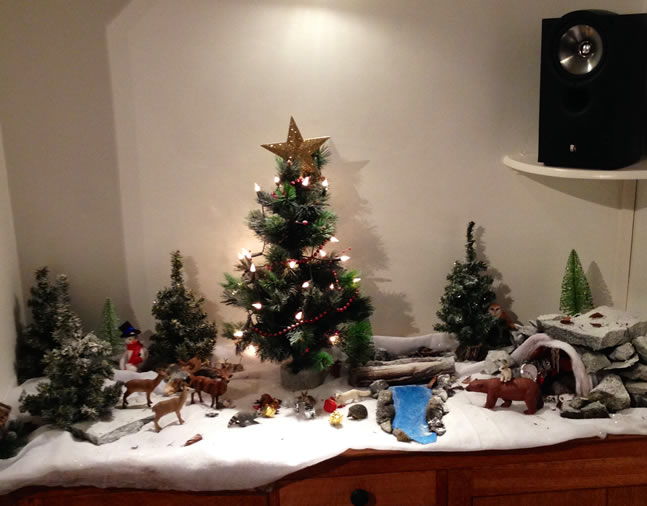
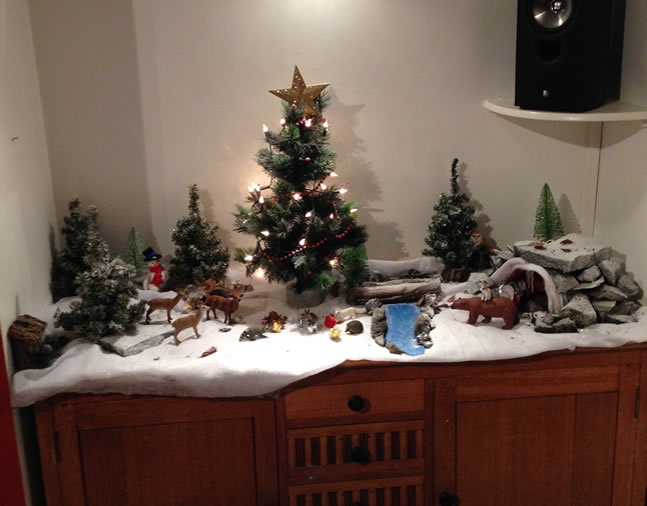
After seeing the TV advert over xmas, I was really inspired by it. After watching a documentary video on how they made it, I thought I'd give it a go for a display at christmas. The results where excellent, even John Lewis congratulated me via Twitter.
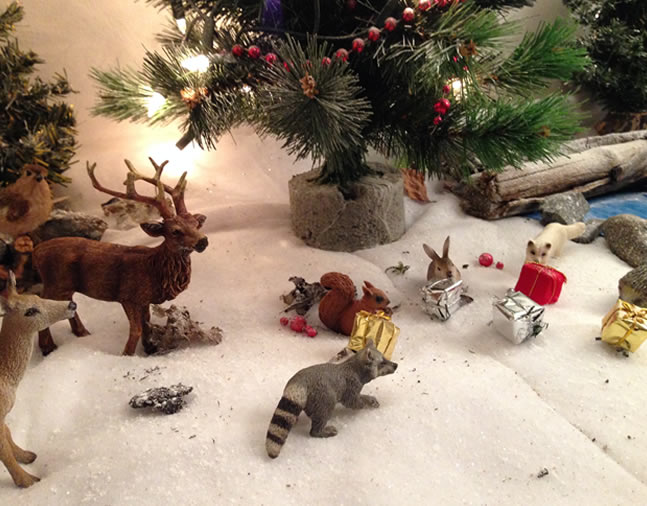
Everyone who visited us over xmas was really impressed, apart from my mates who just thought it was a bit weird i'd gone to so much effort to do it.
I used a snow blanket, leaves and stones from the garden, a plant pot, some old xmas decorations, some cheap mini xmas tree's from a pound shop and plenty of spray snow. The most difficult bit was finding the animals all in size ratio, most of them came from a toy shop, but the bear itself actually came from a childrens toy museum in Todmorden.
The display is now packaged up and will probably return this year with a slightly different theme.
Restoring Old Drawers
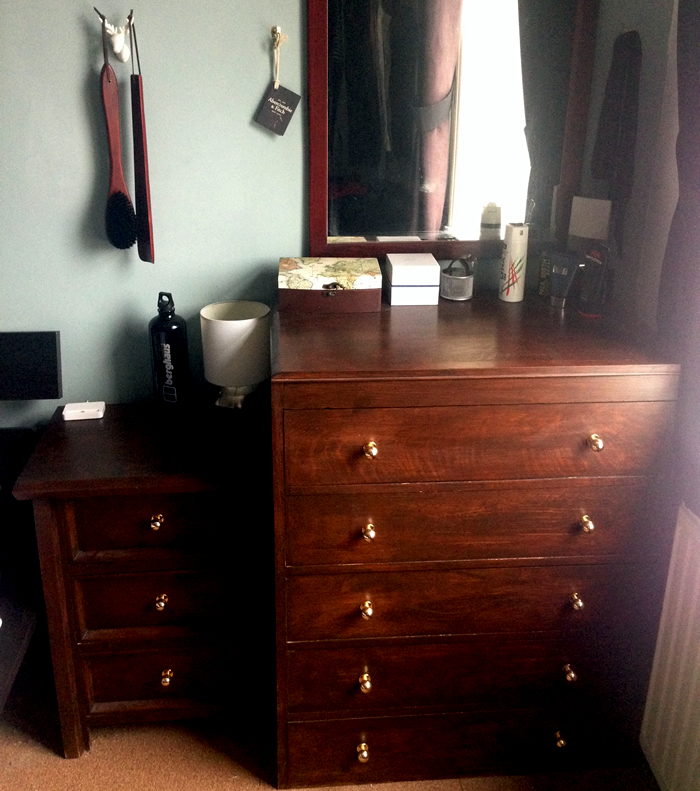

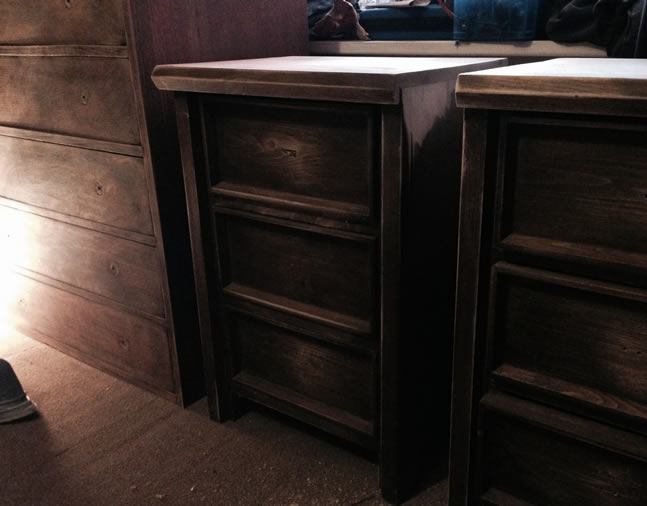

I picked up these old oak drawers off ebay for around £60, I sanded them down, gave them a few coats of wood stain, and bought some new knobs. They came up really well, and with them being oak will last forever.
Since doing these, my missus also purchased an old oak dressing table, this has had the same treatment, and the matching knobs really brought the bedroom furniture together as though they are part of a set.
If you are going to give this a go, just make sure your buying proper solid wood, and not a cheap wood with a vinear, as this won't sand down very well.
Dinoffee Table
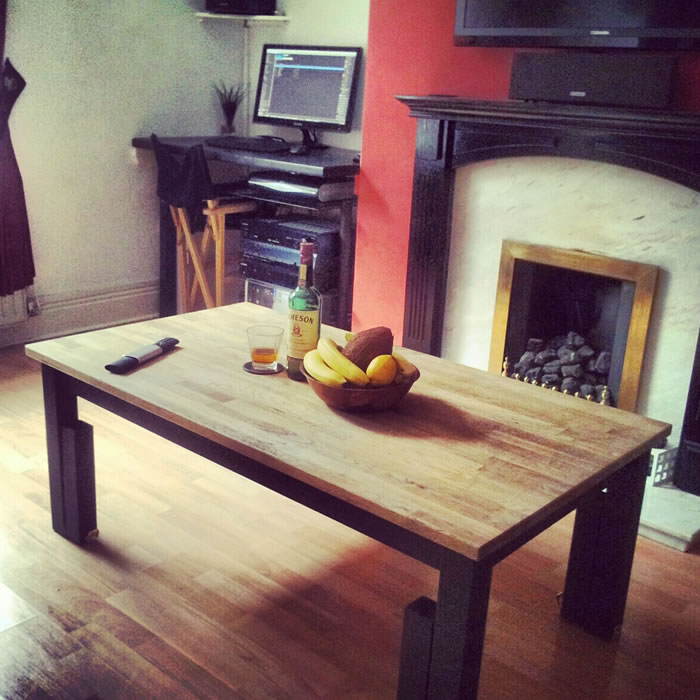

I'm not lucky enough to have a dining room in my house, and the way I have my front room set up there's no space for one, so... I have a solid oak coffee table, and one day I looked at it and thought hold on.... if I make the legs on that table extend, it'll turn into a dining table !
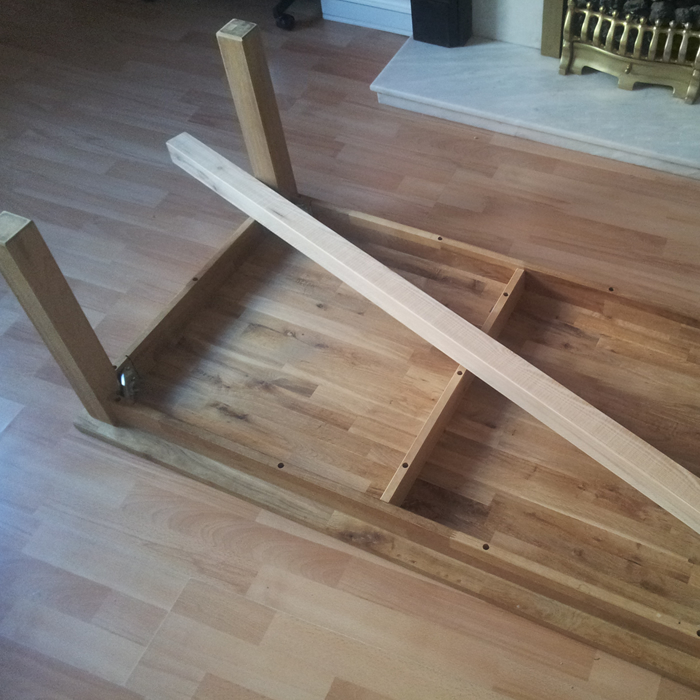
So after purchasing a few hinges, clamps, velcro and some wood off ebay.. I started off the project. Initially I mocked up the design in a graphics package, then once I had the measurements I made a start.
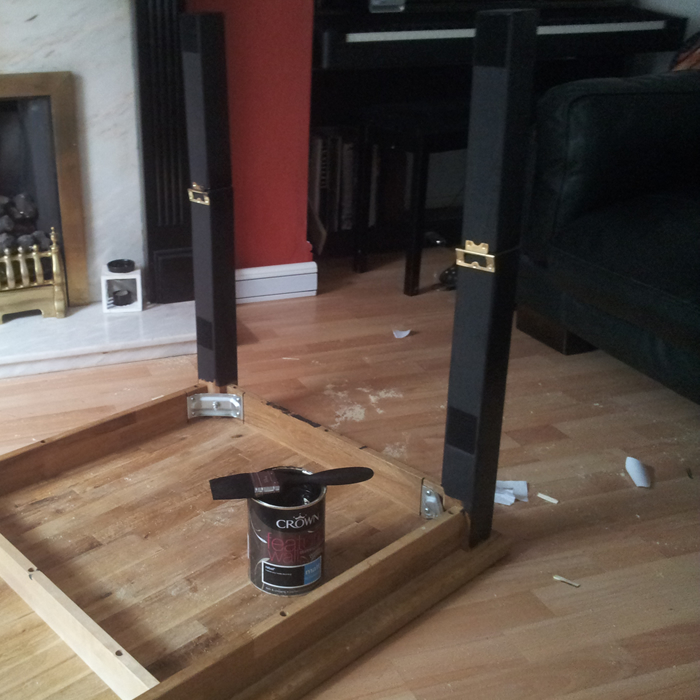
Initially I sanded all the wood down, then chopped the wood into 4x parts. Once all the wood was ready I painted the legs and table frame black so they matched. I then screwed a hinge onto the table leg and on the opposite side of the leg a clasp... so the extend able leg can fold away and clamp in place when extended, once all these where in place the legs now fold, and clamp, but in coffee table mode the legs kinda flopped around so I used some velcro to hold the extendable leg to the original table leg.
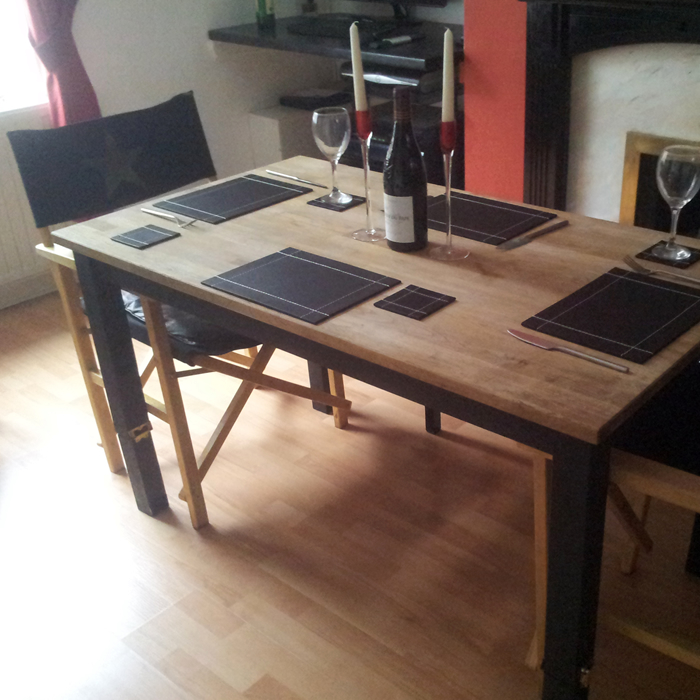
Overall the table is fantastic, most of the time its in coffee table mode, but at the weekend if we are cooking a decent tea, the table gets put up....
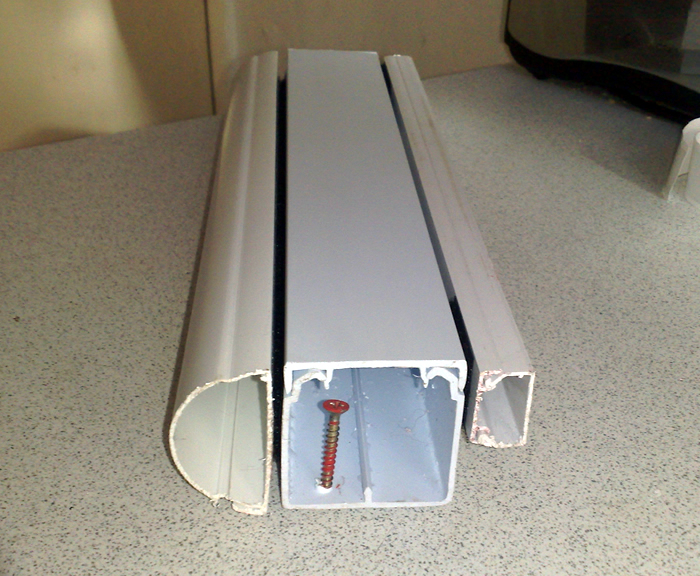
Cable Trunking

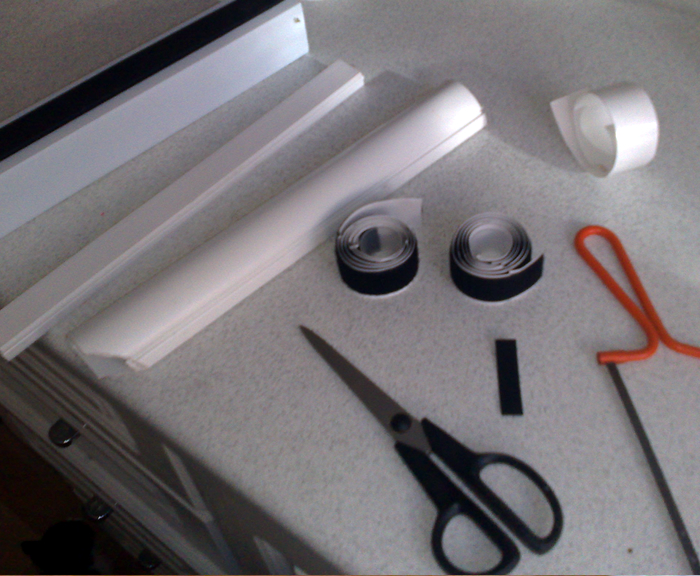

In my front room, i have a surround sound and a TV plus other components, all with wires, and wires in the home can be a pain.
Ideally you need to hide these wires so with a combination of clever trunking and a fireplace I've managed to hide all my audio and power wires.With the fireplace being hollow, its ideal to thread wires through it (protected of course from the heat of the fire.
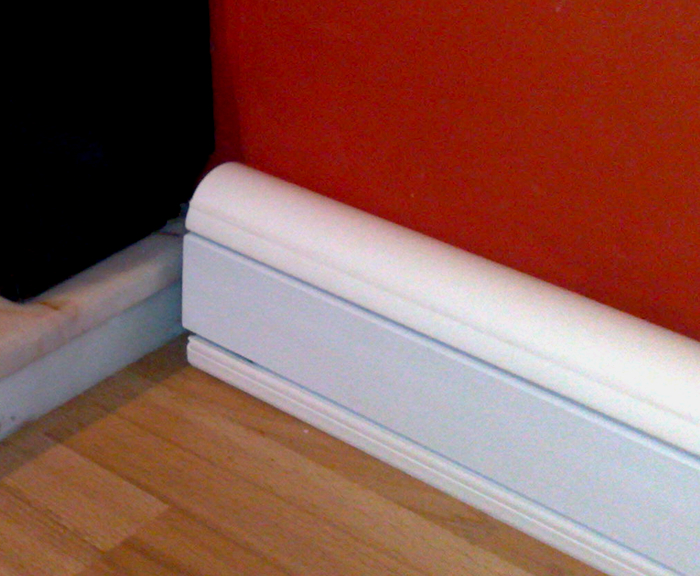
My wires run from the AV receiver in the left of the front room all the way around the room, but with this clever cable trunking, Ive managed to make the trunking look like skirting board, and it also helps to separate audio and power cables.
There are other useful bits to keep wire tidies, velcro straps and plastic wire tidy are my choice, you can use tape and cable ties etc but that time when you get a new TV or a new piece of audio kit your literally going to end up knifing a wire open trying to remove them.
Serving Hatch - TV Hole
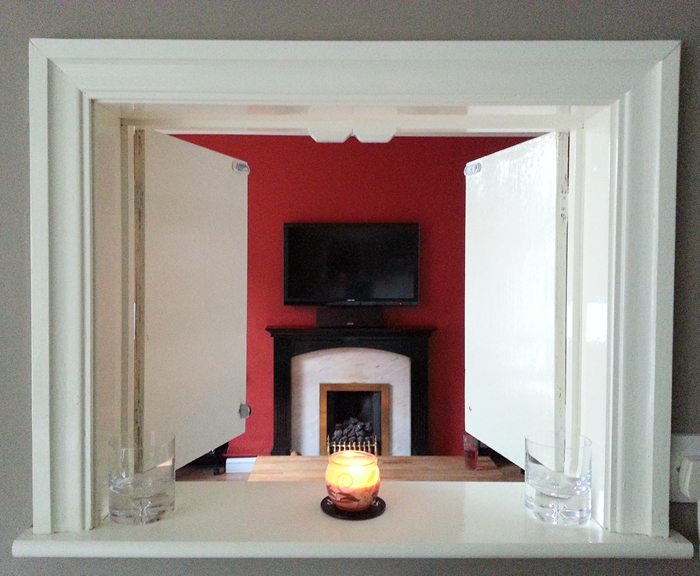
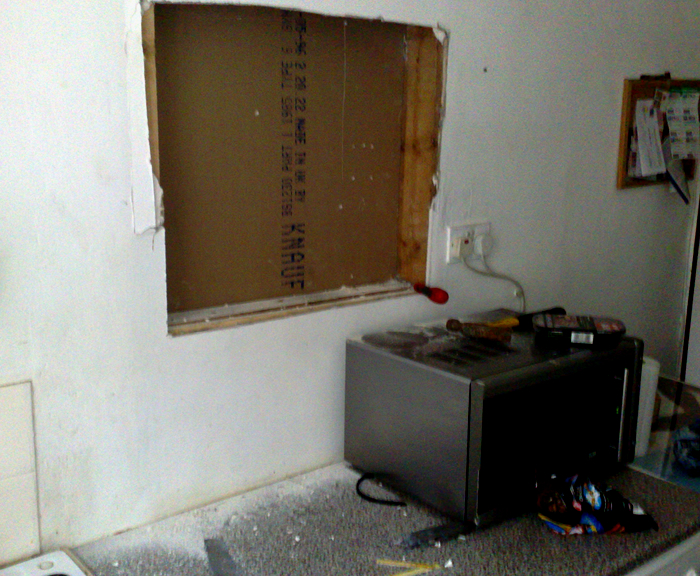
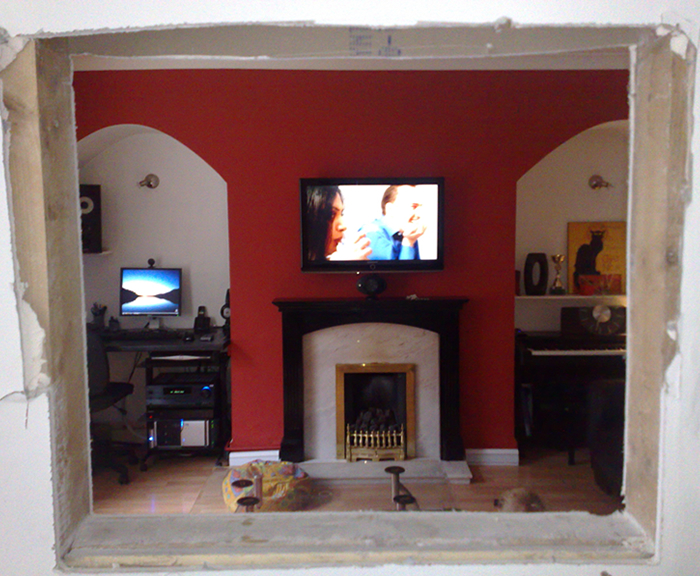
So one day I'm stood in the kitchen cooking and the missus is laughing at the TV and I have to run round to the door to see what she's laughing at... going back to the oven I thought where I cook and prepare food, there's only a plasterboard wall between me and the front room, so why not have a hole in it so I can watch TV whilst cooking.
I tapped the wall in a few places and it sounded hollow, so I had a look on the opposite side of the wall and it was clear.
I drove a screwdriver through the plasterboard, the missus ran in screaming what are you doing ? I explained I want to watch the TV whilst in the kitchen, so I'm putting a hole in the wall, it'll also double as a serving hatch!
After cutting out a square of plasterboard I realised I was a few inches off some nicely placed 3 x 2 so I removed plasterboard up to these, which helped when boarding it out.
I then used wood to frame the hole, and added 2 x wooden doors on the front with magnets fitted on them to keep them shut.
Extra Corner Shelves
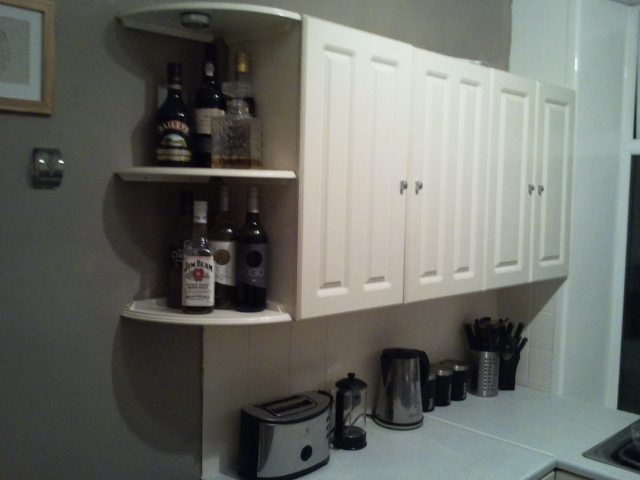

A simple extra storage solution for any corner are these corner shelves, available from most decent hardware stores, I purchased these from home-base for about 4 pounds each, a small price to pay really to expand your storage.
Here I have used them in my kitchen for drinks shelves, and in my living room I have used them to hold my two front large speakers for my surround sound set up.
With a decent lick of paint they can provide extra storage and space efficient shelving for any corner of a room.
You may notice on the kitchen picture I have also added a push light, these are very cheap from ebay and simply have a few batteries in them, stick to any surface and provide a cool light for when people come round.
Handy Household Ideas
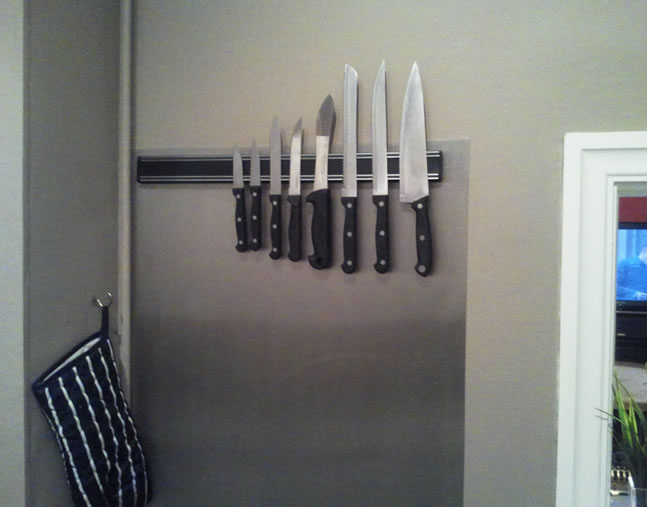 Magnetic Knife Holder
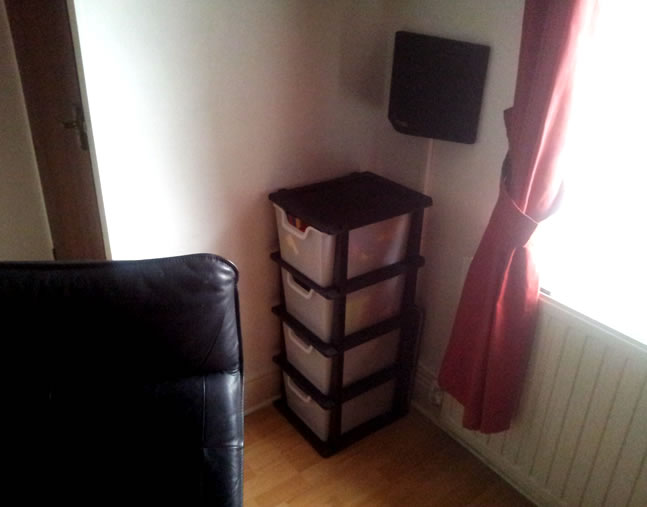 Toy Box Shelving
 Towel Hooks
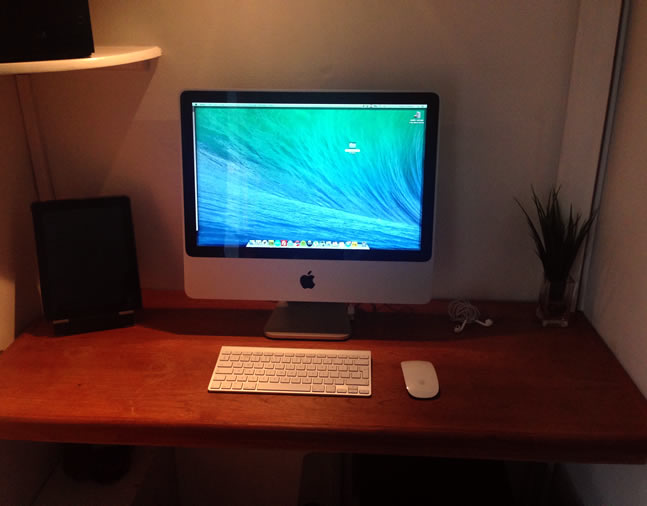 Old Coffee Table iMac Desk
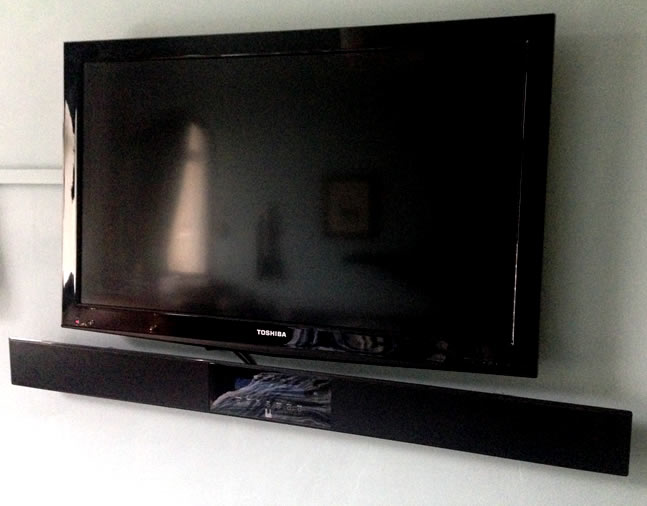 Wall Mountable TV's & Soundbars
 Wall Mountable Surround Speakers
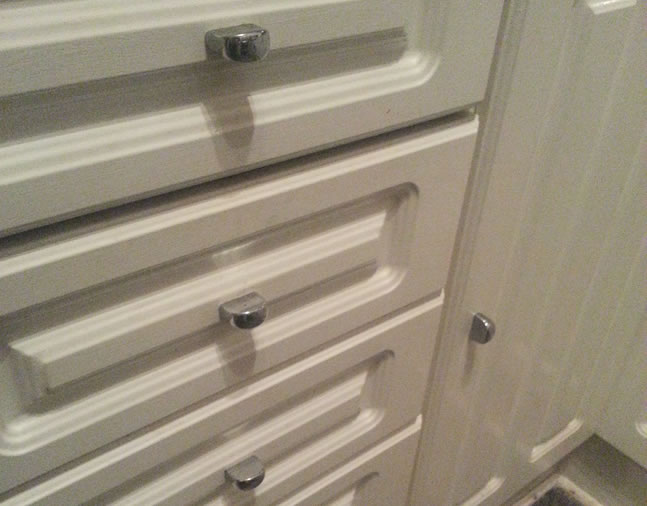 Change Old Handles
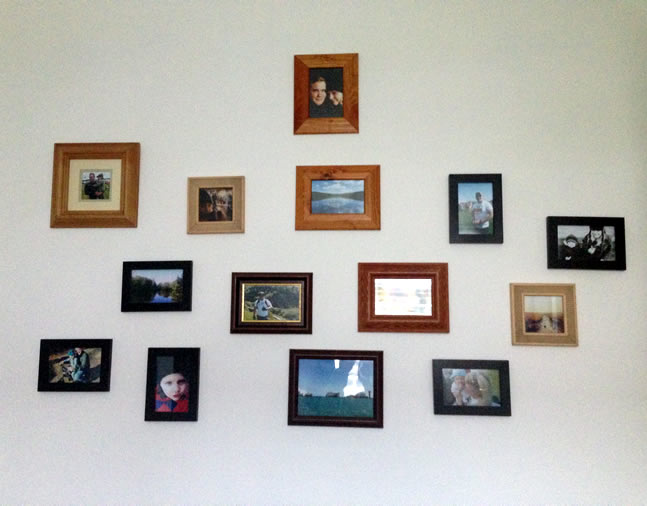 Random Photo Frames